[Caution: Surgical Images] Lower Eyelid Lift — The Actual Procedure, Step by Step
Dr. Kwak Chan-yee of YourTime Plastic Surgery walks through the full lower eyelid lift procedure step by step, with actual surgical photos and explanations of each stage.


Hello, this is Dr. Kwak Chan-yee of YourTime Plastic Surgery.
Some patients ask about the difference between lower eyelid fat repositioning / lower blepharoplasty and a lower eyelid lift performed together with a mid-face lift.
You may be wondering why the cost varies so much, and whether lower eyelid surgery is not just a simple procedure. With that in mind, I have put together a post today walking through the entire lower eyelid lift procedure, with actual surgical photos attached.
Before you scroll down, please be aware that some of the surgical photos may be a bit graphic. ^^;
=======================================================
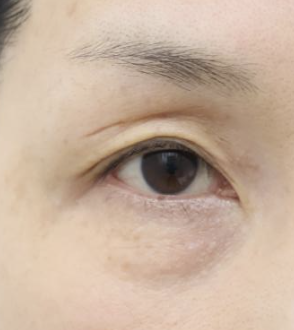
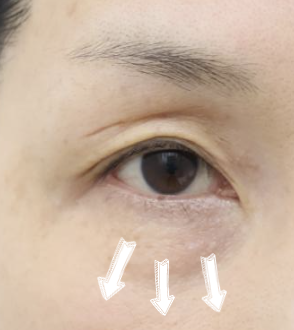
This is a fairly typical candidate for a lower eyelid lift. The lower eyelids are drooping, the orbicularis retaining ligament is prominent, there is mild pigmentation, and the fat is lax.
The surgical plan included a full-incision lower eyelid lift, a sub-brow lift, and fat grafting to the upper eyelid area.
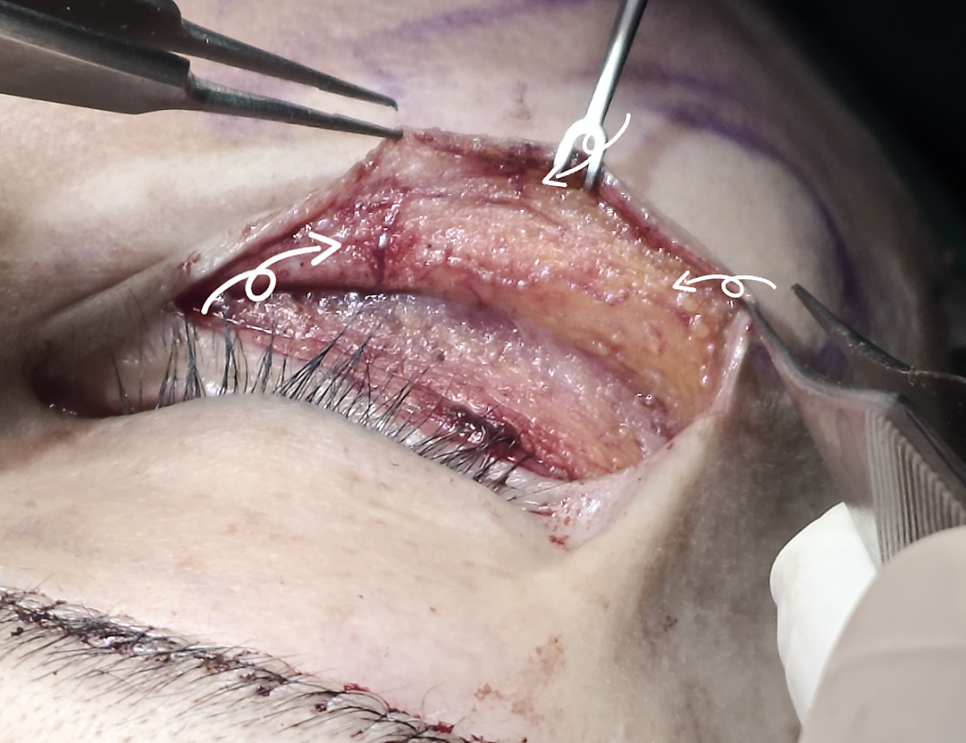
The lower eyelid lift begins with skin dissection. There are many small blood vessels — called the subdermal plexus — just beneath the skin surface, as indicated by the arrows. Preserving these vessels during dissection helps minimize bruising and speeds up recovery.
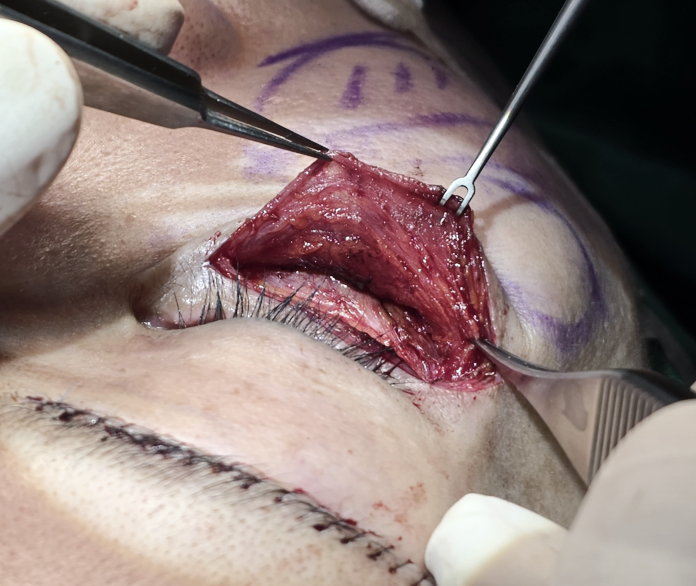
After the skin dissection comes muscle dissection. The orbicularis oculi is a large muscle that surrounds the eye and is responsible for facial expressions around the eye and for closing the eyelid. This muscle is carefully dissected and separated from the fat compartments. Entering the muscle plane incorrectly can cause unnecessary bleeding, make it difficult to create a natural lower-lid fullness (aegyo-sal) later, and lead to increased swelling and bruising during recovery.
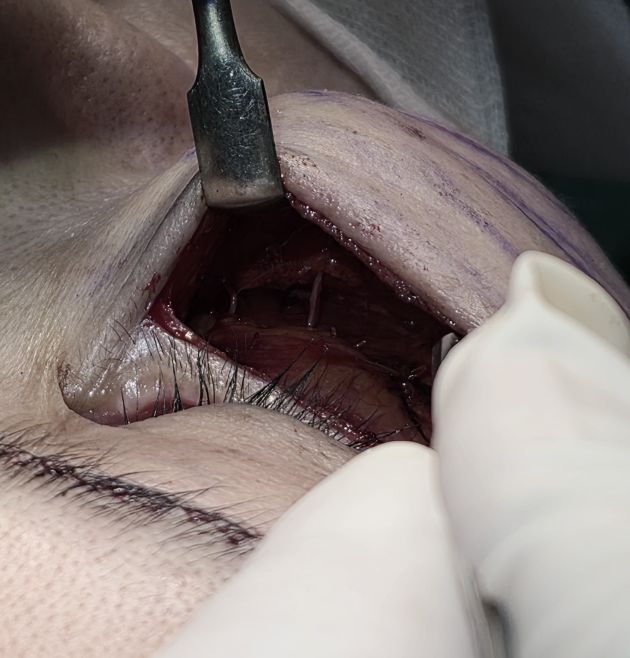
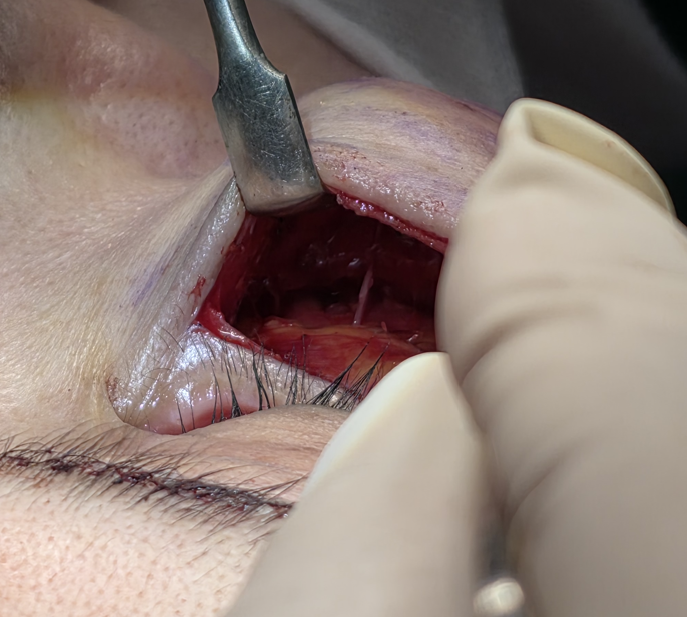
Once the muscle layer has been identified, the next step is to release the orbicularis retaining ligament completely, then continue the dissection downward along the anterior surface of the zygomatic bone to the plane beneath the SOOF (sub-orbicularis oculi fat) layer.
All important nerves must be preserved throughout, and the dissection should be as wide and thorough as possible so that the lifted tissues do not re-descend after the lift.
The thread-like structures visible in the photo are the preserved nerves.
Fat repositioning is then performed.
This step involves repositioning the bulging orbital fat downward beneath the orbicularis retaining ligament to fill the tear-trough area.
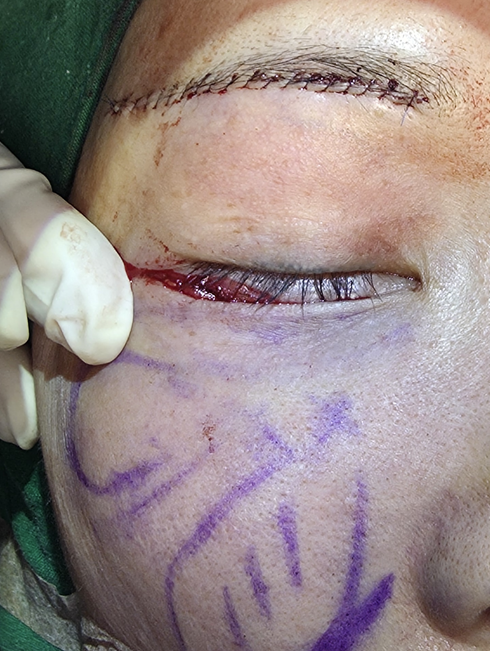
After repositioning, the result is checked to confirm there are no visible steps or irregularities.
The next step is to perform SOOF repositioning and the mid-face lift over the repositioned fat.
During SOOF repositioning, the angle and placement are critical, as they directly affect the surgical outcome. This is a step that requires careful judgment.
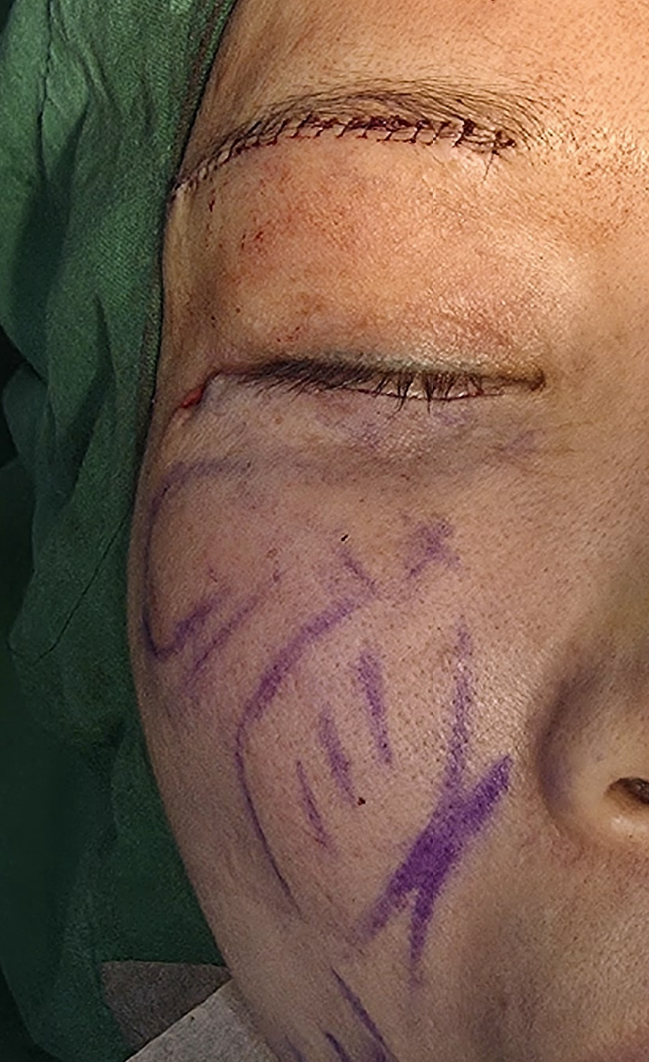
After the mid-face lift, the remaining muscle tissue is appropriately rolled or folded to create natural lower-lid fullness (aegyo-sal).
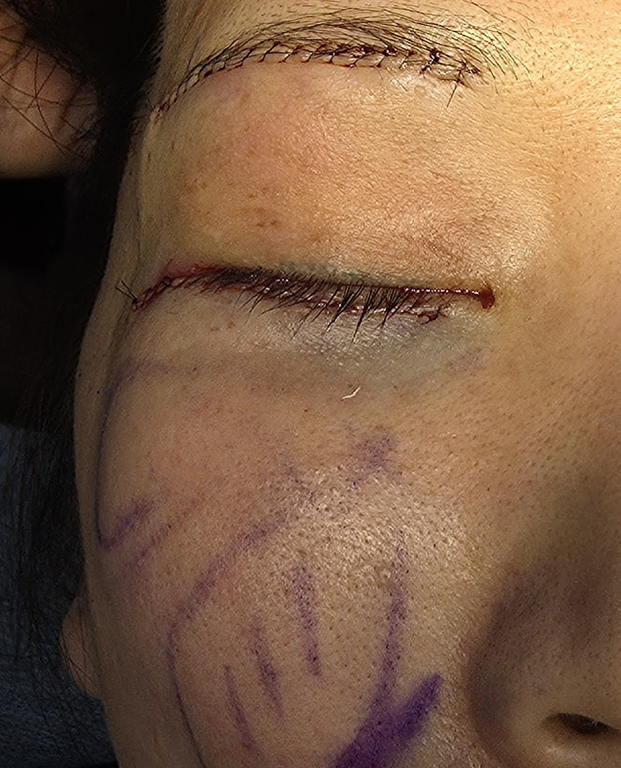
The procedure is completed after skin excision and closure.
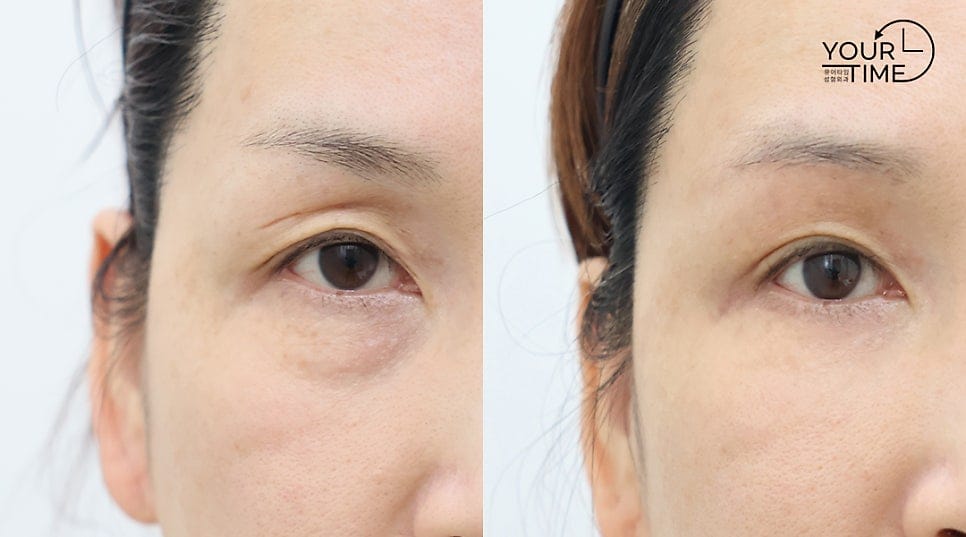
The photo below was taken two months after surgery.
=======================================================
Lower eyelid surgery turns out to be a more involved procedure than most people expect, and technically it is quite demanding. Even with years of experience, it remains a challenging operation.
I will continue to do my very best for each patient, following sound surgical principles every step of the way.
Thank you for reading all the way to the end. I will share another interesting case next time. ^^
YourTime Plastic Surgery
Dr. Kwak Chan-yee